
High-Rise Leggings Specification: What Brands Should Define Beyond Waistband Height
Most specification arguments about high-rise leggings begin before the first sample is cut. A line sheet states a waistband depth, or writes "above the navel", and everything that actually decides whether the garment stays in place is left to the sample room. The first sample then looks correct on a form and behaves differently in wear: the band folds over in a forward hinge, the front rise pulls, the back yoke lifts, or the style sits at a different point on a size S than on a size L.
Those outcomes are not fit accidents. They follow from four specifications that a height figure cannot capture: waistband construction and elastic tension, rise and crotch-curve geometry, gusset and panel layout, and the way all of it is graded across a size run. For a growing brand moving from reference images to a first production sample, each unresolved variable usually costs one fit round. HUCAI Sportswear reviews high-rise leggings briefs as a set of coupled specifications, because a waistband only behaves when fabric, band build, rise and grading agree with each other.
Quick Answer
A high-rise leggings specification should define, beyond waistband height: band construction, band tension and recovery, front and back rise measured on the pattern, crotch-curve depth, gusset size and placement, seam and panel layout, and the graded rise increment for each size. Waistband height is a visible outcome, not a working instruction. These six items decide whether the band holds position through movement and whether bulk production matches the approved sample.
Table of Contents
Who This Article Is For
- Primary reader: growing activewear brands building a leggings program with a manufacturing partner.
- Secondary reader: established brands re-specifying an existing high-rise block, or adding a new rise to an existing collection.
- Product stage: direction defined, no approved sample yet, or a first sample that passed on the form but not in wear.
- Problem being solved: the waistband spec is a single height number, and the brand needs to know which other dimensions to write down before sampling.
- Who may not need this article: teams that already hold a graded, production-proven high-rise block with confirmed band tension tolerances.
What you gain from this article: a specification list you can attach to a tech pack, five sampling checks with observable outcomes, and a clear view of where a high-rise brief usually breaks between sample approval and bulk.
What "High-Rise" Specifies and What It Leaves Open
High-rise describes where the top edge of the garment lands on the body. It does not describe how that edge is built, how much tension it carries, or what the pattern looks like below it. Two leggings can both be labelled high-rise and still behave as different products, because the label refers to an outcome rather than to a construction.
The first item to fix is the measuring point. Waistband depth is commonly quoted at centre back, at the side seam, or as a finished front depth, and those three numbers are not interchangeable on a curved band. A brief that says "12 cm waistband" without a measuring point will produce a sample that matches the number and misses the intent. State the measuring point, the finished depth at that point, and the acceptable tolerance in the same line.
Define the landing point, not only the depth
Depth and position are separate variables. A band can be deep and sit low, or shallow and sit high, depending on where the top edge is placed relative to the hip bone and the natural waist. Buyers usually have an opinion about this and express it as a photograph. Convert the photograph into a body landmark, then into a pattern measurement, so the sample room is working from geometry rather than from an image.
This is where most reference-led projects lose a round. When a brief is built from images alone, the pattern team has to infer the landing point, the band build and the fabric behaviour from a single view. Reviewing those three items explicitly before pattern making is cheaper than correcting them after the first fit session. Brands that want the category-level view of how these decisions cluster should read the leggings manufacturing workflow before writing the brief, because the same three variables reappear in every high-rise style in the line.
Waistband Construction and Tension
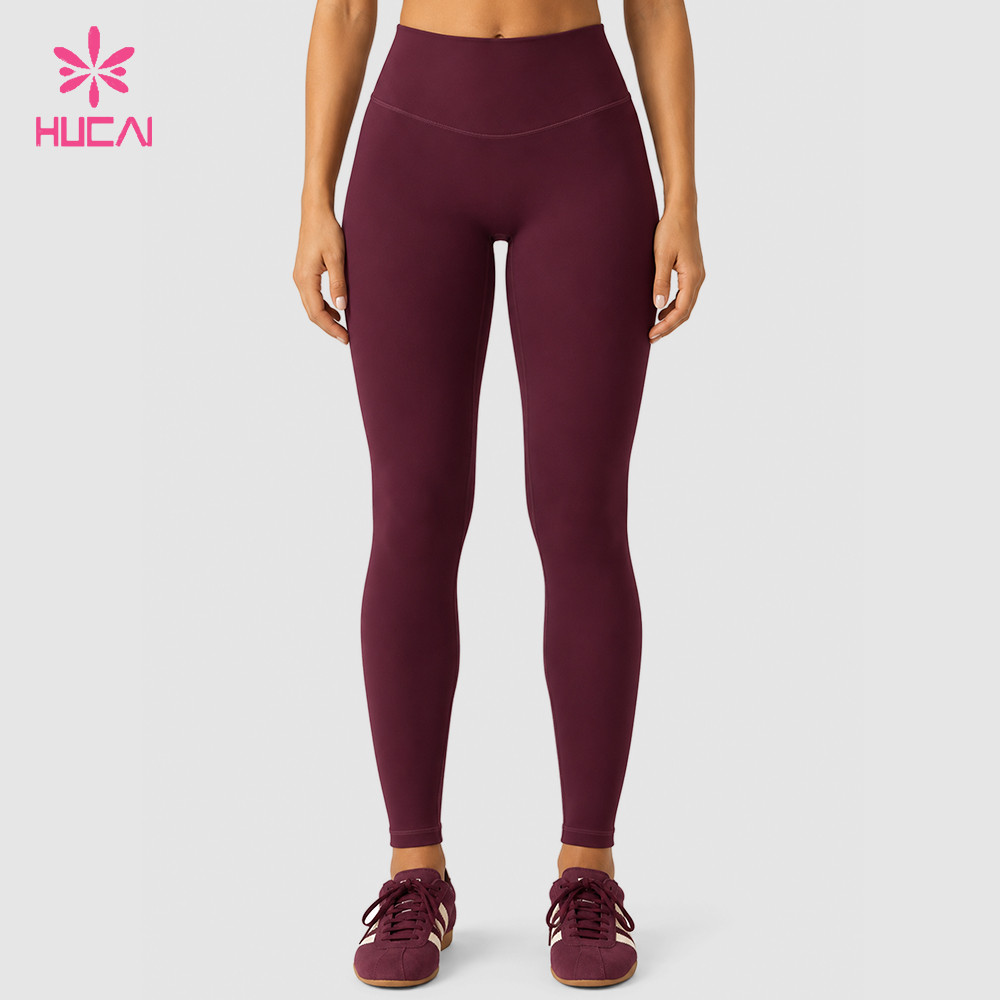
The waistband is the only part of a leggings pattern that carries load in two directions at once: it grips the body horizontally while the garment hangs from it vertically. Roll-down is rarely caused by insufficient height. It is caused by a mismatch between band tension and the recovery behaviour of the body fabric, or by a band that is too soft to resist the downward pull of the leg panels.
Three constructions, three behaviours
Most high-rise programs use one of three band builds. Each has a different failure mode, and the brief should name which one is intended rather than leaving it to the sample room.
| Band build | What it controls | Sampling risk to watch |
|---|---|---|
| Single-layer elastic encased in self fabric | Tension is set by the elastic gauge and the stretch ratio applied during attaching | Band can twist inside the casing, or read thin against a heavy body fabric |
| Double-layer self-fabric band | Depth and surface are controlled by the pattern; tension depends on the internal elastic | Bulk at the top edge, and seam grin where the band meets the body panel |
| Bonded or tape-reinforced band | Flat top edge with controlled stretch along the seam line | Recovery after laundering and adhesion behaviour at the fold |
Whichever build is chosen, tension must be specified as a measurable value rather than as a feel. Ask for the band extension at a fixed load and the recovery after a set holding time, recorded on the actual fabric lot. A band that recovers more slowly than the body fabric will migrate downward during wear even if both materials pass their own incoming checks. Because this interaction depends on the shell fabric, it is normally settled during fabric selection review rather than after the first sample.
HUCAI Sportswear records band extension and recovery alongside the shell fabric specification in the development file, so a second colourway or a replacement fabric can be checked against the same reference instead of being re-judged by feel.
Rise and the Crotch Curve
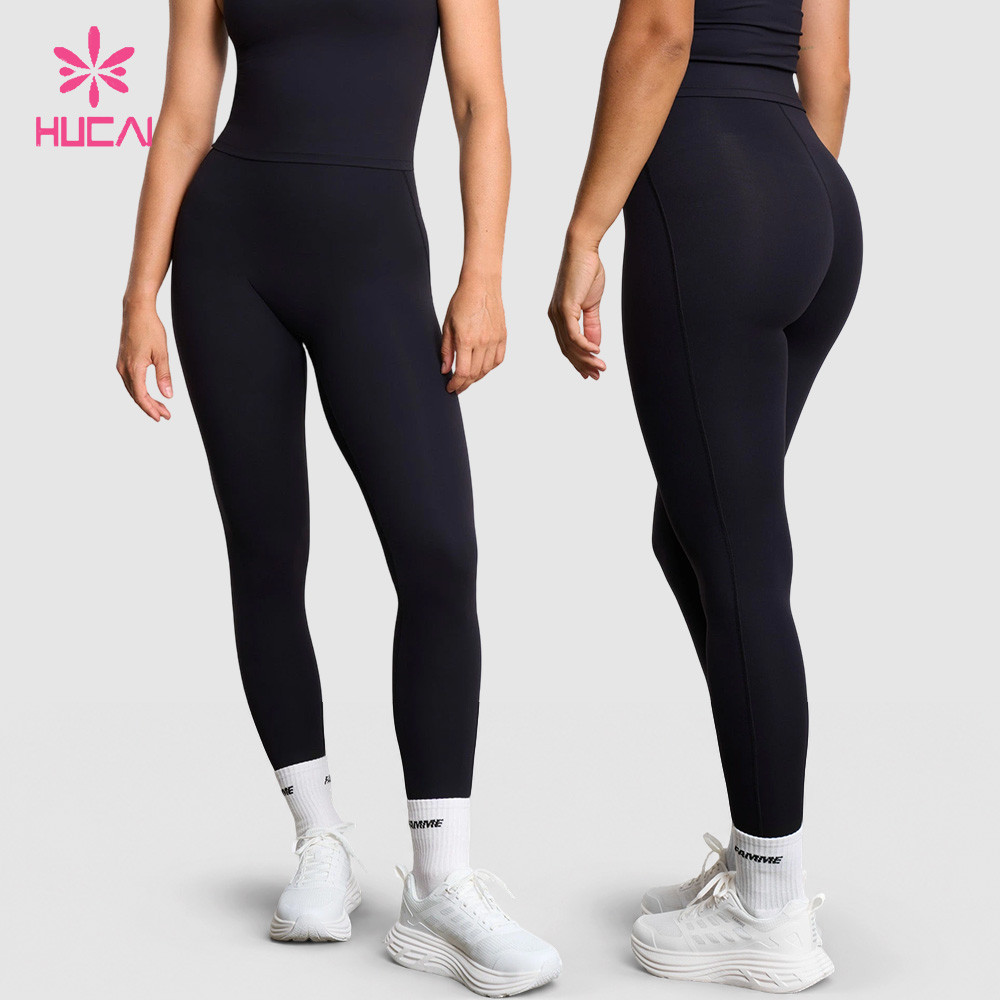
Rise is the distance from the crotch seam to the top edge, measured separately at front and back. In a high-rise block the two numbers diverge more than in a mid-rise block, because the band has to travel over the curve of the seat at the back and stay flat over the abdomen at the front. Writing a single rise figure removes the information the pattern team needs most.
Why the front and back rise must be specified separately
When the back rise is increased without reshaping the crotch curve, the extra length has to go somewhere. In wear it usually shows as a gap at the centre back, a pulling front rise, or a yoke line that rides up when the wearer sits. The opposite error, keeping the back rise and raising only the front, produces a band that cuts across the abdomen and lifts at the side seam.
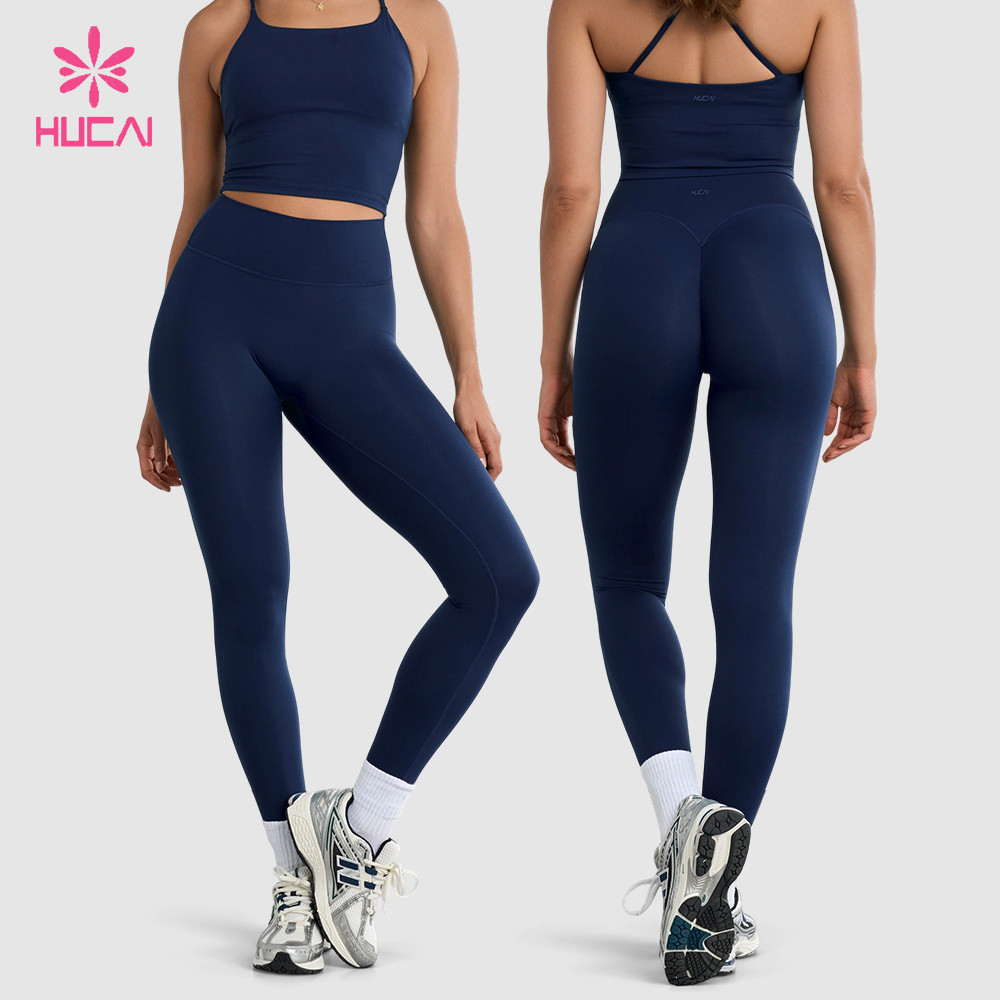
The practical fix is to specify front rise, back rise and crotch-curve depth as one group, with the band depth included in the calculation rather than added afterwards. A rise figure quoted without the band it sits on cannot be checked against a sample, because the same pattern produces a different finished rise depending on where the band top edge is placed. Ready-made high-rise blocks, such as a full-length high-rise leggings style with a double-layer waist, are useful as a starting reference for the band and rise relationship, but the graded numbers still have to be confirmed against the brand's own measurement chart.
Gusset and Panel Layout
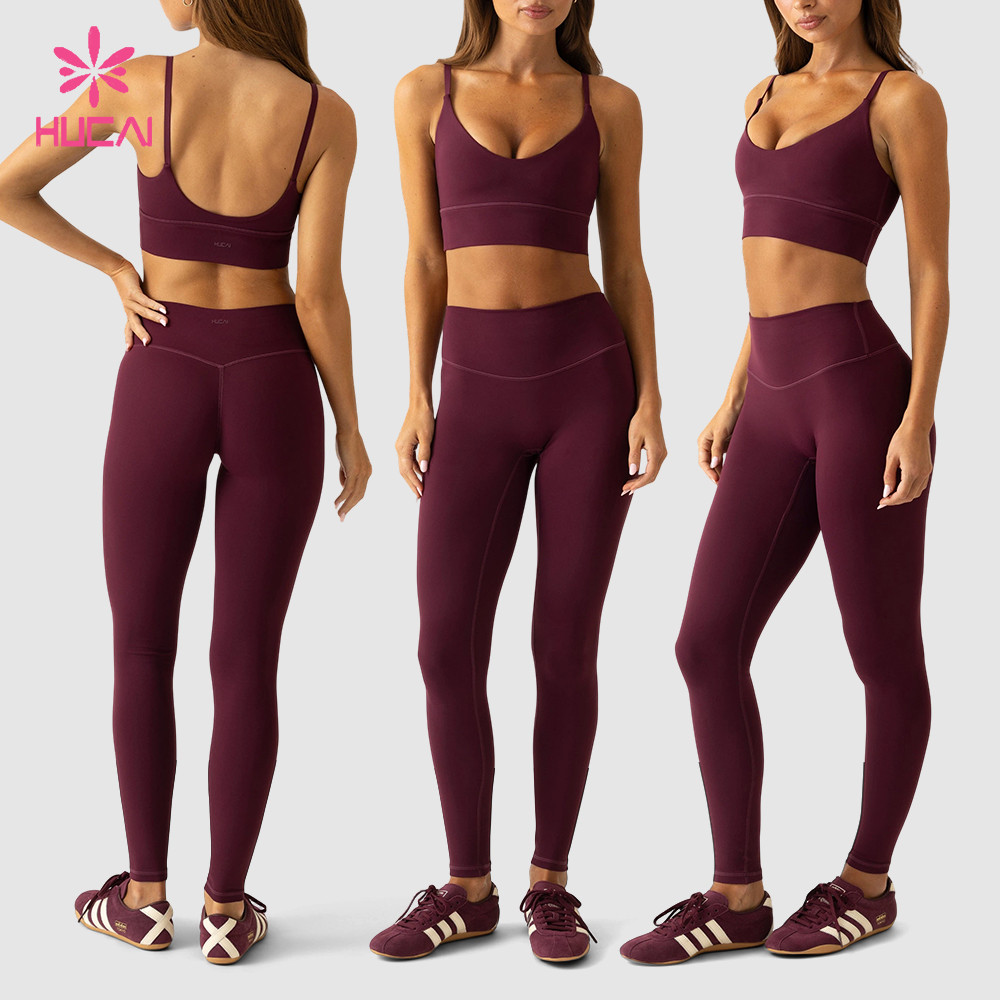
The gusset is the piece that allows the crotch area to move without putting the whole seam under tension. On a high-rise legging it also sets how the front panel, back panel and inner leg meet, which in turn affects where the band sits under load. A gusset specified as "standard" transfers the decision to the sample room and makes revision hard to attribute.
What to write into the spec
- Gusset shape and size: diamond, oval or rectangular insert, with finished length and width at the widest point.
- Placement: how far the gusset seam sits below the crotch point, and whether it is centred or offset.
- Seam type and direction: the seam construction used around the gusset, and which side carries the seam allowance.
- Panel junction: where the front and back panels meet the gusset, and how that junction aligns with the band bottom edge.
During review, look at the garment from the side rather than from the front. A gusset that is too short shows as a horizontal pull line under the band; one that is too long shows as slack fabric that folds when the leg lifts. Both appear as "waistband problems" in a fit report even though the correction belongs in the gusset pattern. Panel layout decisions at this level are part of the custom leggings development process, and they are easier to lock before the first sample than after a graded set has been cut.
Grading and the Size System
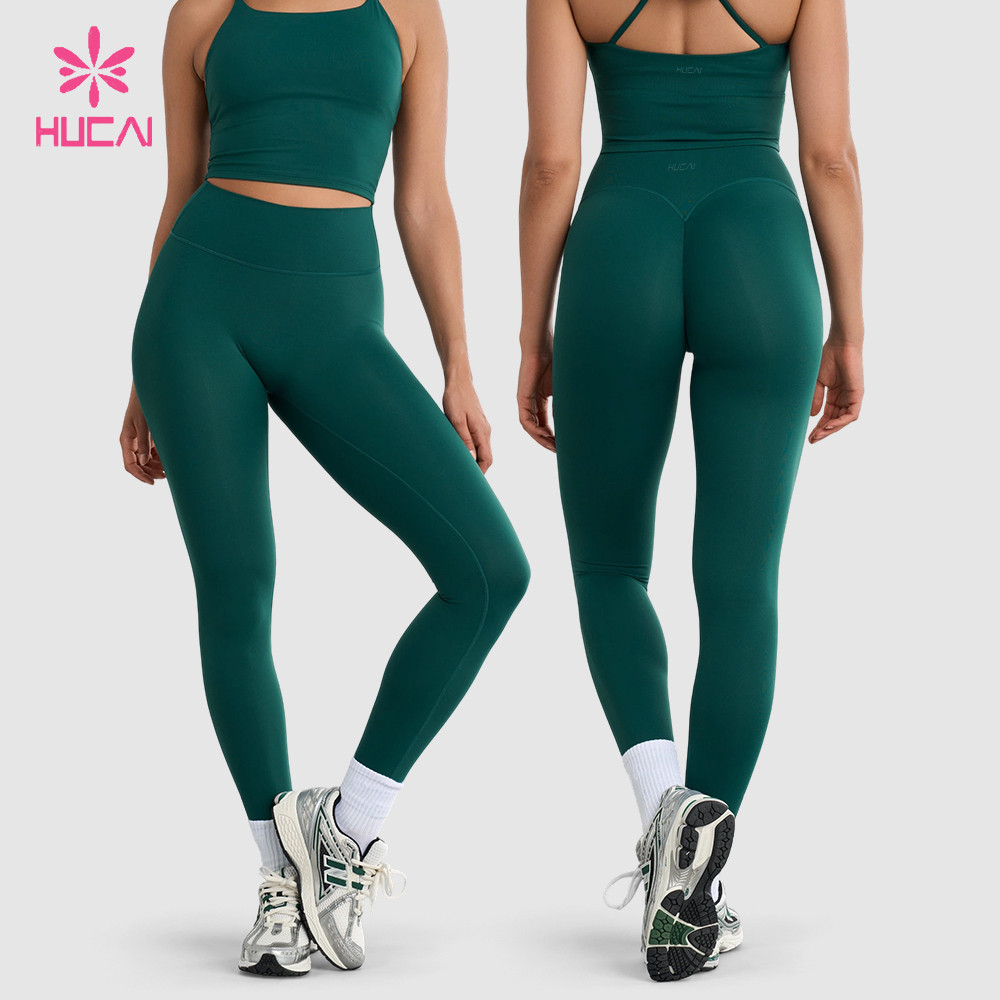
A waistband depth that works on the base size does not automatically work across the run. Band depth, rise and crotch depth change at different rates as body measurements change, and a block graded on one increment for all three will behave inconsistently at the ends of the range. This is the most common reason a brand approves a size M sample and then receives complaints about the size L.
Two grading decisions that belong in the spec
First, decide whether the band depth is constant across sizes or graded. A constant band depth keeps the visual proportion consistent and is simpler to cut, but it changes the coverage ratio on larger sizes. A graded band depth preserves the intended landing point but requires the elastic to be available in the corresponding widths, which is a supply question rather than a pattern question.
Second, decide the rise increments separately for front and back. Body measurement systems, including the size designation approach described in ISO 8559-1, distinguish body dimensions from garment ease, and the pattern has to translate one into the other. Copying a base-size rise curve across the run ignores that translation. Ask for the graded measurement chart to be checked against the brand's own size specification before any sample set is cut. HUCAI Sportswear reviews the graded chart together with the band depth decision, because the two have to be settled at the same time rather than in sequence.
The Sampling Protocol: Five Checks
High-rise leggings are usually approved or rejected on appearance, because appearance is what the fit session can see. The five checks below convert the specification above into observations that can be recorded, compared and repeated on the bulk shipment.
- Band measurement before wear: measure finished band depth at the stated point, plus band extension at a fixed load and recovery after a set holding period. Record the values on the sample record, not only in a message.
- Forward hinge and roll-down: observe the band through a standing hinge, a deep squat and a seated position. Note whether the top edge folds, and whether it returns to position when the wearer stands.
- Rise point photography: photograph the front, side and back at the same three landmarks used in the brief. Photographs taken at a consistent height are the only reliable way to compare two fit rounds.
- Crotch and gusset inspection: check the gusset seam position, seam direction and panel junction from the side, with the garment on a body rather than on a form.
- Dimensional change after laundering: measure the band and the rise again after one home laundering cycle following AATCC 135, and compare against the tolerance written in the spec.
A sample that passes appearance but fails check one or check five will usually fail in bulk, because neither variable is corrected by a fitting adjustment. Recording the numbers at sample stage gives the production team a reference that does not depend on memory, which is the same principle applied in the factory and production procedure review before a bulk run is released. HUCAI Sportswear keeps these five checkpoints on the sample record so that a bulk inspection can be compared against the same values rather than against a description.
Measured band values are also what makes a second colourway predictable. When the same high-rise block is developed in a different shell fabric, the band specification can be compared against the approved reference instead of being re-judged from photographs.
Decision Check: Is the High-Rise Spec Ready for Sampling?
Before requesting samples, confirm the following:
- Measuring point and depth: the band depth is stated with its measuring point, finished value and tolerance, not as a photograph alone.
- Band build and tension: the construction type is named, and extension and recovery values are specified for the actual shell fabric.
- Rise set: front rise, back rise and crotch-curve depth are specified as a group, with the band depth included in the calculation.
- Gusset and panels: shape, size, placement, seam type and panel junction are written, not assumed.
- Grading: band depth and rise increments are decided per size and checked against the brand's own measurement chart.
If three or more criteria are confirmed, the direction is ready for a structured sample request. If fewer than three are resolved, the missing items will usually return as a fit revision rather than as a production question, and resolving them first reduces the number of sample rounds.
Where the Spec Handoff Happens
A confirmed high-rise specification is a document, and the route depends on what the brand already holds. Teams with a graded block, measurement chart and construction details can send those for OEM development review. Teams starting from reference images or an existing retail garment can send the images, target measurements and intended band behaviour for ODM development support, and clarify band build, rise and gusset during brief review.
Founder's Technical Insight: Jean Yuan's Development Note
When brands bring us a high-rise reference, the detail that decides the sample is almost never the height of the band. It is that the band and the body fabric are two different springs sewn together, and they are being asked to recover at the same rate.
In our sample room, a band that has been attached at a stretch ratio chosen for a lighter fabric will sit correctly on the form and migrate downward within an hour of wear on a heavier one. The band is not too shallow. It is recovering more slowly than the panel pulling on it. The same mechanism explains why a band that measures correctly at cutting can measure short after laundering: the elastic and the shell have different dimensional change, and the seam allowance at the top edge takes the difference.
So before we cut a graded set, we ask for three things to be fixed. First, the band elastic gauge and the stretch ratio used at attaching, recorded as a number. Second, a recovery check on the actual fabric lot, with the holding time and the load written down, so the value can be repeated in bulk. Third, a laundering check on the first sample, measured at the band and at the rise rather than judged by eye. If those three are on the record, a revision discussion stays technical. If they are not, every later fit comment becomes an opinion about feel, and the rounds accumulate.
HUCAI Sportswear keeps those values in the development file for the style, so when a brand adds a colourway or changes the shell, the band decision is reviewed against a reference instead of being rebuilt from a conversation.
FAQ
Is there a standard high-rise waistband height brands should use?
There is no universal number, because band depth has to be defined against the measuring point and the intended landing point on the body. A depth that reads as high-rise on one body proportion can sit at the natural waist on another. Specify the measuring point, the finished depth and the tolerance, then confirm the landing point on a fitting model before grading.
What is the difference between high-rise and high-waist in a specification?
The two terms are used interchangeably in retail language, so a specification should not rely on either word alone. Write the finished band depth at a named measuring point, the rise values and the intended landing landmark. Once those are stated, the label becomes descriptive rather than load-bearing.
Why does a high-rise waistband roll down even when it is deep enough?
Roll-down usually comes from a tension and recovery mismatch between the band and the shell fabric, not from insufficient depth. If the band recovers more slowly than the panel pulling on it, the top edge migrates downward regardless of height. Check band extension and recovery on the actual fabric lot before changing the pattern.
Should a high-rise waistband be double-layer or single-layer elastic?
The choice depends on the surface the brand wants, the depth required and the fabric weight. A double-layer self-fabric band gives pattern control over depth and a clean outer surface; an encased elastic band is simpler to cut but depends more heavily on elastic behaviour. Name the construction in the brief so the sample room is not choosing it by default.
How should gusset size be specified for high-rise leggings?
Specify the gusset shape, finished length and width at the widest point, its placement relative to the crotch point, and the seam type used around it. The gusset also has to be checked against the band bottom edge, because a junction that sits too close to the band creates a pull line that is often reported as a waistband fault.
Can a high-rise block be graded from a single approved size?
A single size can be used as the base, but the increments still have to be decided rather than copied. Band depth and front and back rise change at different rates across a size run, and the graded chart should be checked against the brand's own size specification before sample cutting.
What should a brand send for a first high-rise leggings sample?
Send the intended band depth with its measuring point, front and back rise targets, gusset preference, fabric direction or reference fabric, size range and grading notes, plus reference images. If a tech pack exists, include the measurement chart and construction details; if not, reference images and a clear band description are enough to start an ODM brief. The current public MOQ starts from 200 pcs per style, while colour, size range, fabric and trim planning depend on the confirmed project.
How long does high-rise leggings development usually take?
Sample development usually takes about 10-15 days, depending on style, fabric, trim, logo, revision requirements and confirmed details. Bulk production often takes about 25-30 days after pre-production details and approvals are confirmed, depending on project scope, materials, processes, quantity and scheduling.
Final Takeaway
Waistband height is the easiest part of a high-rise specification to write and the least useful on its own. The items that decide how the garment behaves are the band construction and its measured tension, the front and back rise with the crotch curve, the gusset and panel junction, and the grading decisions behind all three.
A brand that writes those down before sampling gets two things in return: fit comments that point to a specific variable, and a sample record that can be used as the bulk reference. Both reduce the number of rounds between the first sample and a production-ready style.
About HUCAI Sportswear
- Founded in 1998, specializing in women's activewear and sportswear manufacturing
- OEM and ODM development support for sports bras, leggings, shorts, tops and matching sets
- Structured sample development with sample-to-bulk consistency control
- AQL 2.5-based inspection as part of the quality workflow
Current certification information can be reviewed during supplier evaluation based on the project and documentation requirements.